- Maximum capacity [Max]: 2.1g
- Readability [d]: 0.1µg
UYA 2.4Y Ultra-Microbalance
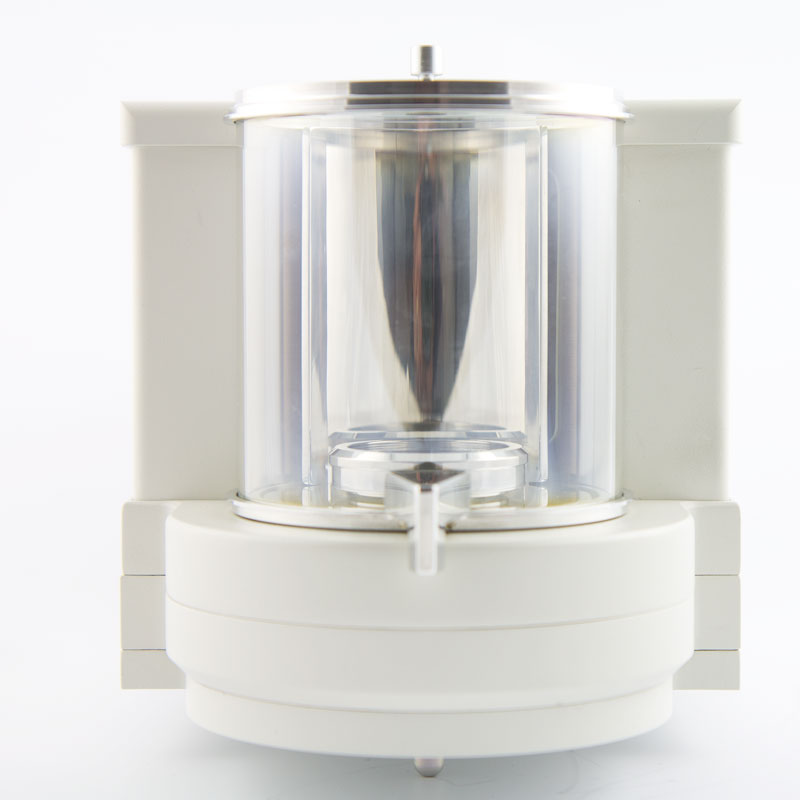
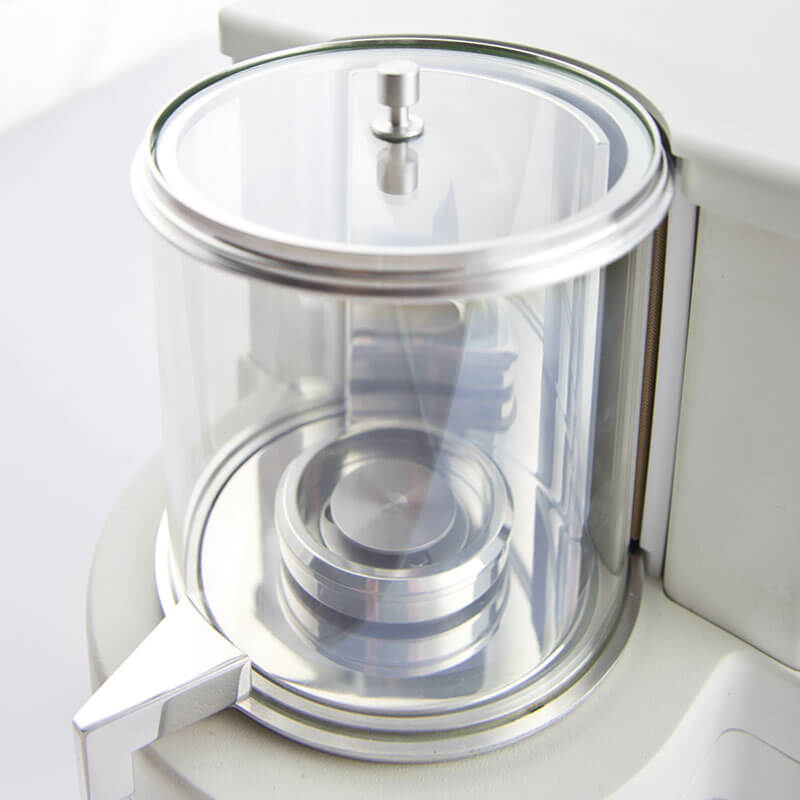
The new generation of ultra-microbalances UYA 4Y is designed to meet the highest requirements for determination of mass. Its built-in system of automatic internal adjustment/calibration maintains excellent measurement reliability and accuracy. The device comprises two major components (an indicator and a precise mechanical measuring system which are enclosed separately). Such design eliminates an influence of heat sourcing from instrument’s electronics on its mechanical components and additionally protects it from shocks and vibrations caused by users operating the instrument. All the elements of a microbalance are made of glass and steel which eliminates the impact of electrostatics on the weighing process.
Description
Electronic level indicator
AUTOTEST
Diagnostic function aiming at metrological parameters determination (repeatability), the parameters are determined for the actual conditions of use. When speaking of repeatability it may be also used for weighing time optimization. Autotest is operated in an automatic mode thus operator’s time is saved.
DOSING
Weighing process for which reference mass has been determined together with tolerance for its determination. Dosing tolerance is given in [%] and it is calculated in relation to the reference value thus being a permissible deviation of this process. This solution is used for weighing powders, liquids and loose materials. Dosing function performance is often supported with bargraph – load indicator. For industrial scales it is possible to use a control systems of dosing process.
PERCENT WEIGHING
Percent Weighing function is used for comparision of measured products with mass standard. Mass of a mass standard may be a numeric value taken from a database or it may be determined through a measurement process. Each measured product is compared to mass standard, mass of which is presumed as a model 100% ideal mass. For products weighing less than the mass standard, obtained results are lower than 100%, for products weighing more, the obtained results are greatly exceeded.
PARTS COUNTING
Function using mass measurement for determination of measured items quantity. Mass of a single item is required for this process. It may be either estimated through weighment or taken from a database. For items counting the following algorithm is used: all items mass / single item mass = quantity. Function operation is supperted by a mechanism of Automatic Correction of Accuracy. This allows to update single item mass in course of the process. To a certain extend Automatic Correction of Accuracy eliminates error which may be a result of different mass values of seemingly alike single elements. For industry solutions items counting may be simultaneously carried out with checkweighing and dosing thus industry solutions feature audio signalling base informing that specified number of items has been weighed. It is possible to apply weighing systems using few platfroms of different MAX capacities and different accuracies.
FORMULATION
Function supporting the mixture making process, wherein the mixture contains various components. Formulation function usually uses the balance/scale database of components. Formulation serves for monitored checkweighing of every single component with a given tolerance. It is enriched with a set of individual settings.
STATISTICS
Statistiscs function registers and analyses performed measurements. This supplies the user withthe following information: Max and Min standard deviation, average value, variance, range et.
CHECKWEIGHING
Checkweighing function is used for checking whether the measured sample mass is within the predefined threshold values, Low [LO] and Hgh [HI]. The thresholds are given in [g] and [kg] units. Current state of a sample being measured is signalled by means of pictorgams located on a display for laboratory balances, for industrial scales Stackligt System is used. This visual +/- inspection is in operation during segregation, control or packing process of products for which mass has bees determined with a specifaied tolerance, eg. 12860 g 961
IR SENSORS
Programmable function supporting the weighing process through control of the following options: sliding weighing chamber doors, printout, zeroing, tarring etc. Especially appreciated wherever preventing the balance from soiling is important.
GLP PROCEDURES
Diagnostic function allowing to objectively document performed measurements. GLP procedures may be either presented in a short report form or extended one.
ANIMAL WEIGHING
Process of mass determination for a product which may unwillingly reposition within the weighing pan. Mass determination in such cases requires much longer period of time when compared to typical weighing process. It is the user who defines period of time needed for control of measured product mass. The user can thus optimize the function depending on the measured product characteristics
AIR DENSITY CORRECTION
Function performing correction of mass measurement indication, wherein the air density is taken into account. It is used in balances with reading unit < 0,01 mg.
AUTOMATIC SLIDING DOOR
Automatic side panes opened via touch-free IR sensors.
DIFFERENTIAL WEIGHING
Differential weighing informs about mass variation a particular sample, wherein the said variation is a result of manufacturing processes.
Differential weighing is often applied in product control process, for which reference product parameters have been specified in order to be used as a source of comparison for the whole series.
Insuchcasestandard deviation is the information which tells about quality and completeness of a final product. For systems based on a feed-back technique such information may be used by control units.
REPLACEABLE UNIT
STATISTICAL QUALITY CONTROL
| Maximum capacity [Max] | 2.1
g |
| Minimum load | 10
µg |
| Readability [d] | 0.1
µg |
| Tare range | -2.1
g |
| Permissible repeatability [Max] | 0.6
µg |
| Permissible repeatability [5% Max] | 0.35
µg |
| Standard repeatability [Max] | 0.4
µg |
| Standard repeatability [5% Max] | 0.2
µg |
| Linearity | ±1.5
µg |
| Eccentric load deviation | 1.5
µg |
| Standard minimum weight (U=1%, k=2) | 0.04
mg |
| Standard minimum weight (USP) | 0.4
mg |
| Stabilization time | 10 – 20
s |
| Adjustment | internal (automatic)
|
| OIML Class | I
|
| Display | 5.7” resistive colour touchscreen
|
| Power supply | 100 ÷ 240 V AC 50 / 60 Hz
|
| Power consumption max. | 700 mA (wireless terminal – 1A)
|
| Operating temperature | +10 ÷ +40
°C |
| Operating temperature change rate | ±0.3°C/1h (±1°C/8h)
|
| Relative humidity | 40% ÷ 80%
|
| Relative humidity change rate | ±1%/h (±4%/8h)
|
| Weighing chamber dimensions | ø90×90
mm |
| Weighing pan dimensions | ø16
mm |
| Packaging dimensions | 660×660×455
mm |
| Net weight | 9.1
kg |
| Gross weight | 16.6
kg |
Repeatability is expressed as a standard deviation from 10 cycles of mass standard weighing.
Stabilization time depends on the ambient conditions and the dynamics of weighing pan loading; specified for FAST profile.


